Ornate Garden 3

All images © Stampin’ Up!®
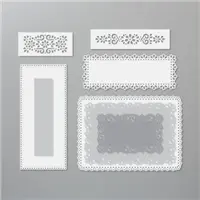
Cutting & Scoring:
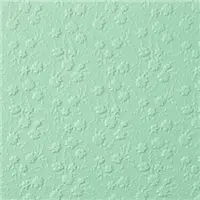
· Mint Macaron- 8 ½” x 5 ½” score and fold at 4 ¼”
· Ornate Garden DSP – 5 ¾” x 2 ½” for die cut
· Terracotta Tile – 5” x 3 ½” for die cut
· Shimmery White – 4´x 2 ½”
· Terracotta Tile inside mat – 5 ¼” x 4”
· Whisper White inside panel – 5” x 3 ¾”
Instructions:
· Die cut DSP with larger thin rectangle die with tiny holes around edge; Adhere to left side of Mint Macaron card front
· Die cut Terracotta Tile with 2nd largest ornate rectangle die; adhere to the right side of the card front overlapping the DSP
· Die cut Shimmery White 4” x 1” with 4th smallest stitched rectangle die from the Rectangle Stitched Framelits
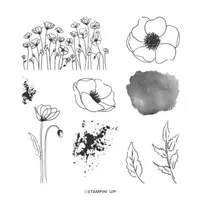
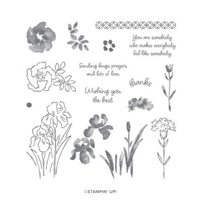
· Stamp gazebo with Crumb Cake onto Shimmery White Stitched Rectangle; Stamp Mossy Meadow pathway to gazebo; stamp Early Espresso trees with Mint Macaron leaves; stamp Mint Macaron flower stems and Terracotta Tile blossoms; stamp Mint Macaron grass to fill in as desired.
· Adhere Shimmery White stamped rectangle over Terracotta Tile Ornate die cut
· Adhere Terracotta Tile mat to inside of card
· Stamp flower stems with Mint Macaron and blossoms with Terracotta tile on Whisper White inside panel and adhere to inside of card
-----------------------------------------------
Products Used